by Katie
Cold Saturdays are a good time for drinking coffee, doing yoga, and making postcards to send to your totally awesome entourage of friends and family.
Cold Saturdays are a good time for drinking coffee, doing yoga, and making postcards to send to your totally awesome entourage of friends and family.

This is a great upcyling project--you get to use the rando cardboard you have lying around your house (in the form of the almost-empty cracker/tampon/pepsi boxes I know you have) and the old magazines you've been hanging onto because you aren't done with them yet but won't ever actually read through again.
You can use:
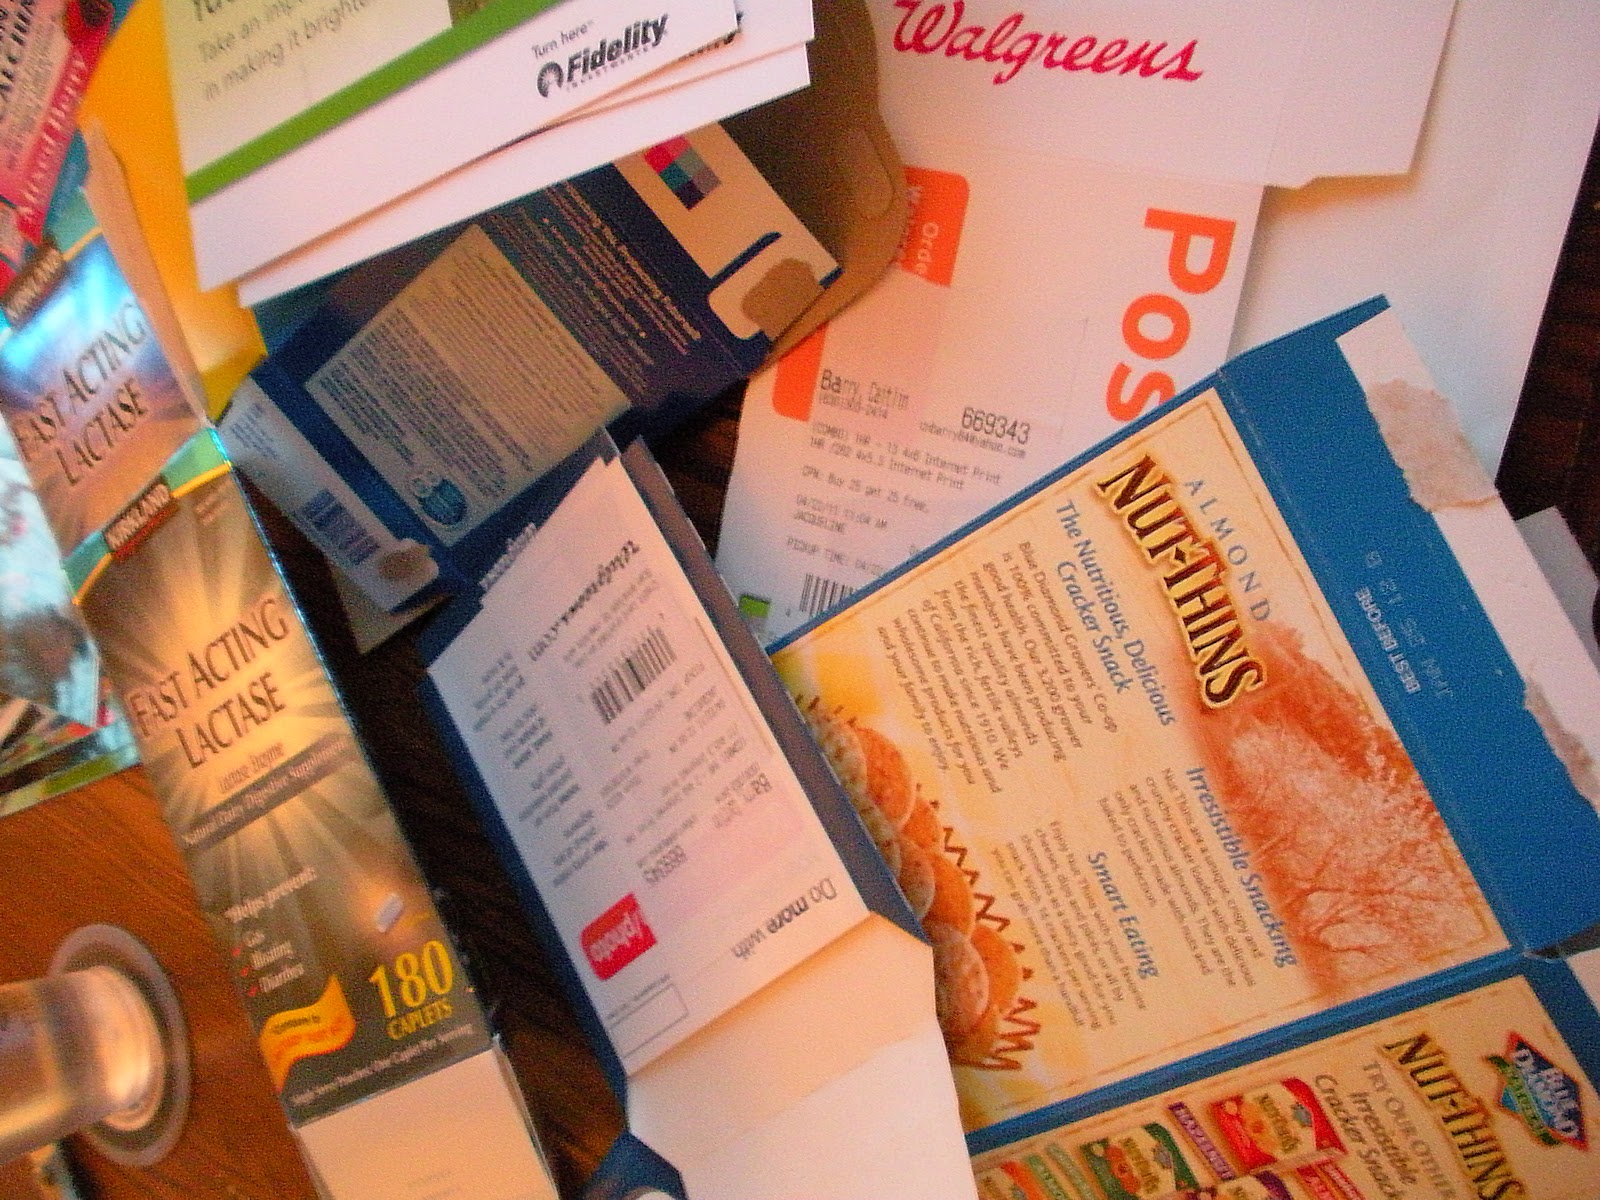
- Any kind of thin cardboard--I seriously raided my recycling bin and scavenged for almost-empty boxes around my house
- Any kind of paper or image--magazines, scrapbook paper, photographs, newspaper--whatever
- Double-sided tape (of course)
- Decorative tape/electrician's tape/duct tape/masking tap/scotch tape--this will cover the edges of your postcard, so choose according to your aesthetic
- Crayons/markers
- Plain paper or stationary to use for the writing side (especially if your cardboard doesn't have a plain side)
The good thing about postcards is that they can be pretty much any size (within reason). So cut up your cardboard into postcard-size rectangles.


Choose the images for your postcards. This is the fun part--you'll start seeing things in old magazines that jump out at you for different people. You can choose one large image per postcard or do some with a collage of smaller things. Alternatively, have some of your own photos printed and use those. They're your art!
Cover your postcards with the images/photos/paper you've chosen. This is why I love double-sided tape. I pretty much buy it in bulk these days. Make sure to cover the printed side of the cardboard, not the plain side. You'll use that for writing. You don't want to be writing on a glossy Nabisco box top.

Tape around the edges. You don't want two layers of paper, you want one cohesive postcard. Get creative with the taping. It can add to the look.


Then, your postcards are ready to be written on, adorned, and addressed! First things first: draw an address box in the bottom right corner, and draw yourself a little square for the stamp so you don't have to cover any of your writing with these necessities later.
Write message, fill in address, and then either go nuts with the crayons (or markers, or whatever floats your boat) or just leave it plain. If you're using crayons, write your note first or you'll be writing over wax.
Some examples:


Your friends will be thrilled to get their totally original, personalized, awesome postcard in the mail from you. People love getting good mail. And people love knowing that something was handmade, just for them. I know this for a fact. Go--embrace the art of snail mail!
No comments:
Post a Comment